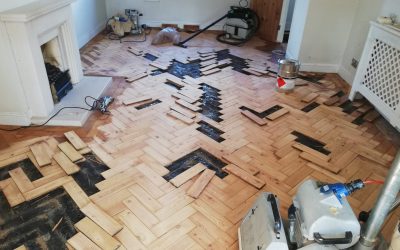
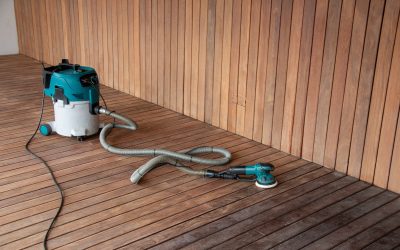
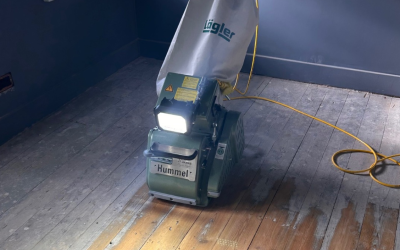
Step-by-Step: From First Pass to Final Coat
If your timber floors look tired, scratched, or simply past their best, you’ve probably wondered whether they can be brought back to life. Good news: with the right preparation, schedule and finishing choices, you can achieve a showroom-grade result at home—or know exactly what to expect from professionals. This guide breaks down the entire journey from assessment to aftercare, so you can approach Wood Floor Sanding with confidence.
What exactly is floor sanding?
At its core, floor sanding is the controlled removal of a very thin layer of wood to erase surface damage and create a fresh, flat canvas for new protection. Using progressively finer abrasives, the process levels boards, eliminates old finish, light dents and staining, and opens the grain ready for stain or clear sealers. It’s both a makeover and a structural tune-up: minor edge lips are levelled, squeaks can be addressed while fixings are exposed, and gaps can be filled for a cleaner look.
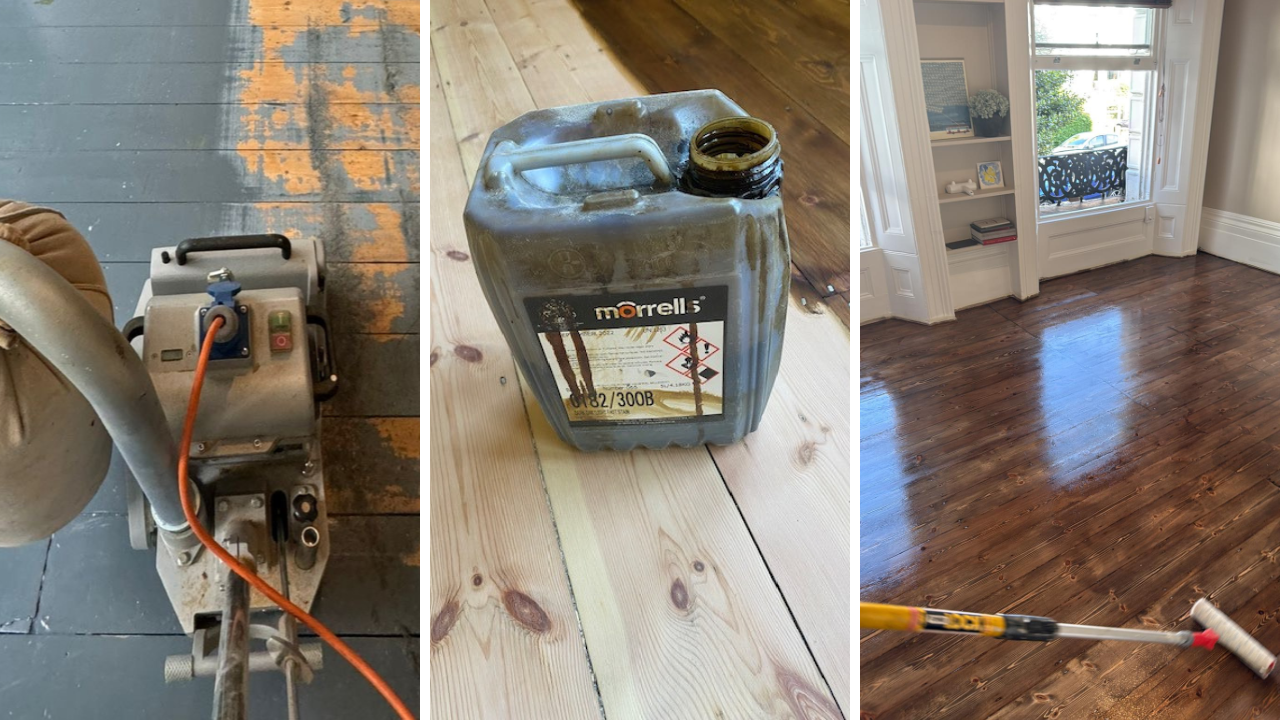
A modern setup relies on three machines: a belt or drum sander for the main field, an edging sander for skirting lines and tight spots, and a finishing/buffer machine to blend the scratch pattern before sealing. Detail work (stairs, corners, under radiators) is handled with detail sanders and hand tools. With efficient dust extraction and low-VOC finishes, the work is far cleaner and healthier than it used to be.

Why consider it?
A properly sanded and sealed floor delivers multiple benefits:
- Visual reset: Sun fade, ambered varnish and traffic lanes disappear, revealing the timber’s true colour and figure.
- Hygiene: Old finish often harbours grime in micro-scratches; sanding removes that layer entirely.
- Longevity: New coatings bond better to freshly prepared wood, extending the interval before any future refresh.
- Value: Estate agents notice a crisp, consistent floor. It photographs better and helps properties stand out.
- Custom style: From Nordic whitewash to deep espresso, the palette opens up after you’ve completed Wood Floor Sanding.

Is your floor suitable?
Most solid wood boards have enough depth for multiple full refurbs across their lifetime. You’re mainly looking for structural health and thickness above the tongue (5–7 mm is a good safety margin). Engineered products can also be rejuvenated provided the wear layer—solid timber above the ply—is thick enough (ideally 3–6 mm). If you can see nail heads or the tongues peeking at joins, a light touch or a screen-and-recoat may be wiser than a full cut.
Other checkpoints before tackling Wood Floor Sanding:
- Moisture and movement: Recent leaks, rising damp or cupping should be stabilised first. A pin-type moisture meter helps; you want stable readings within normal indoor ranges.
- Fixings and fasteners: Protruding nails or screws must be punched below the surface to protect abrasive belts and prevent scars.
- Repairs: Replace badly cracked, rotten or missing boards prior to any sanding pass so the surface stays flat.
- Adhesives and coatings: Some old finishes (e.g., aluminium oxide, certain factory UV-cured coats) are tougher to cut; expect extra abrasives and time.
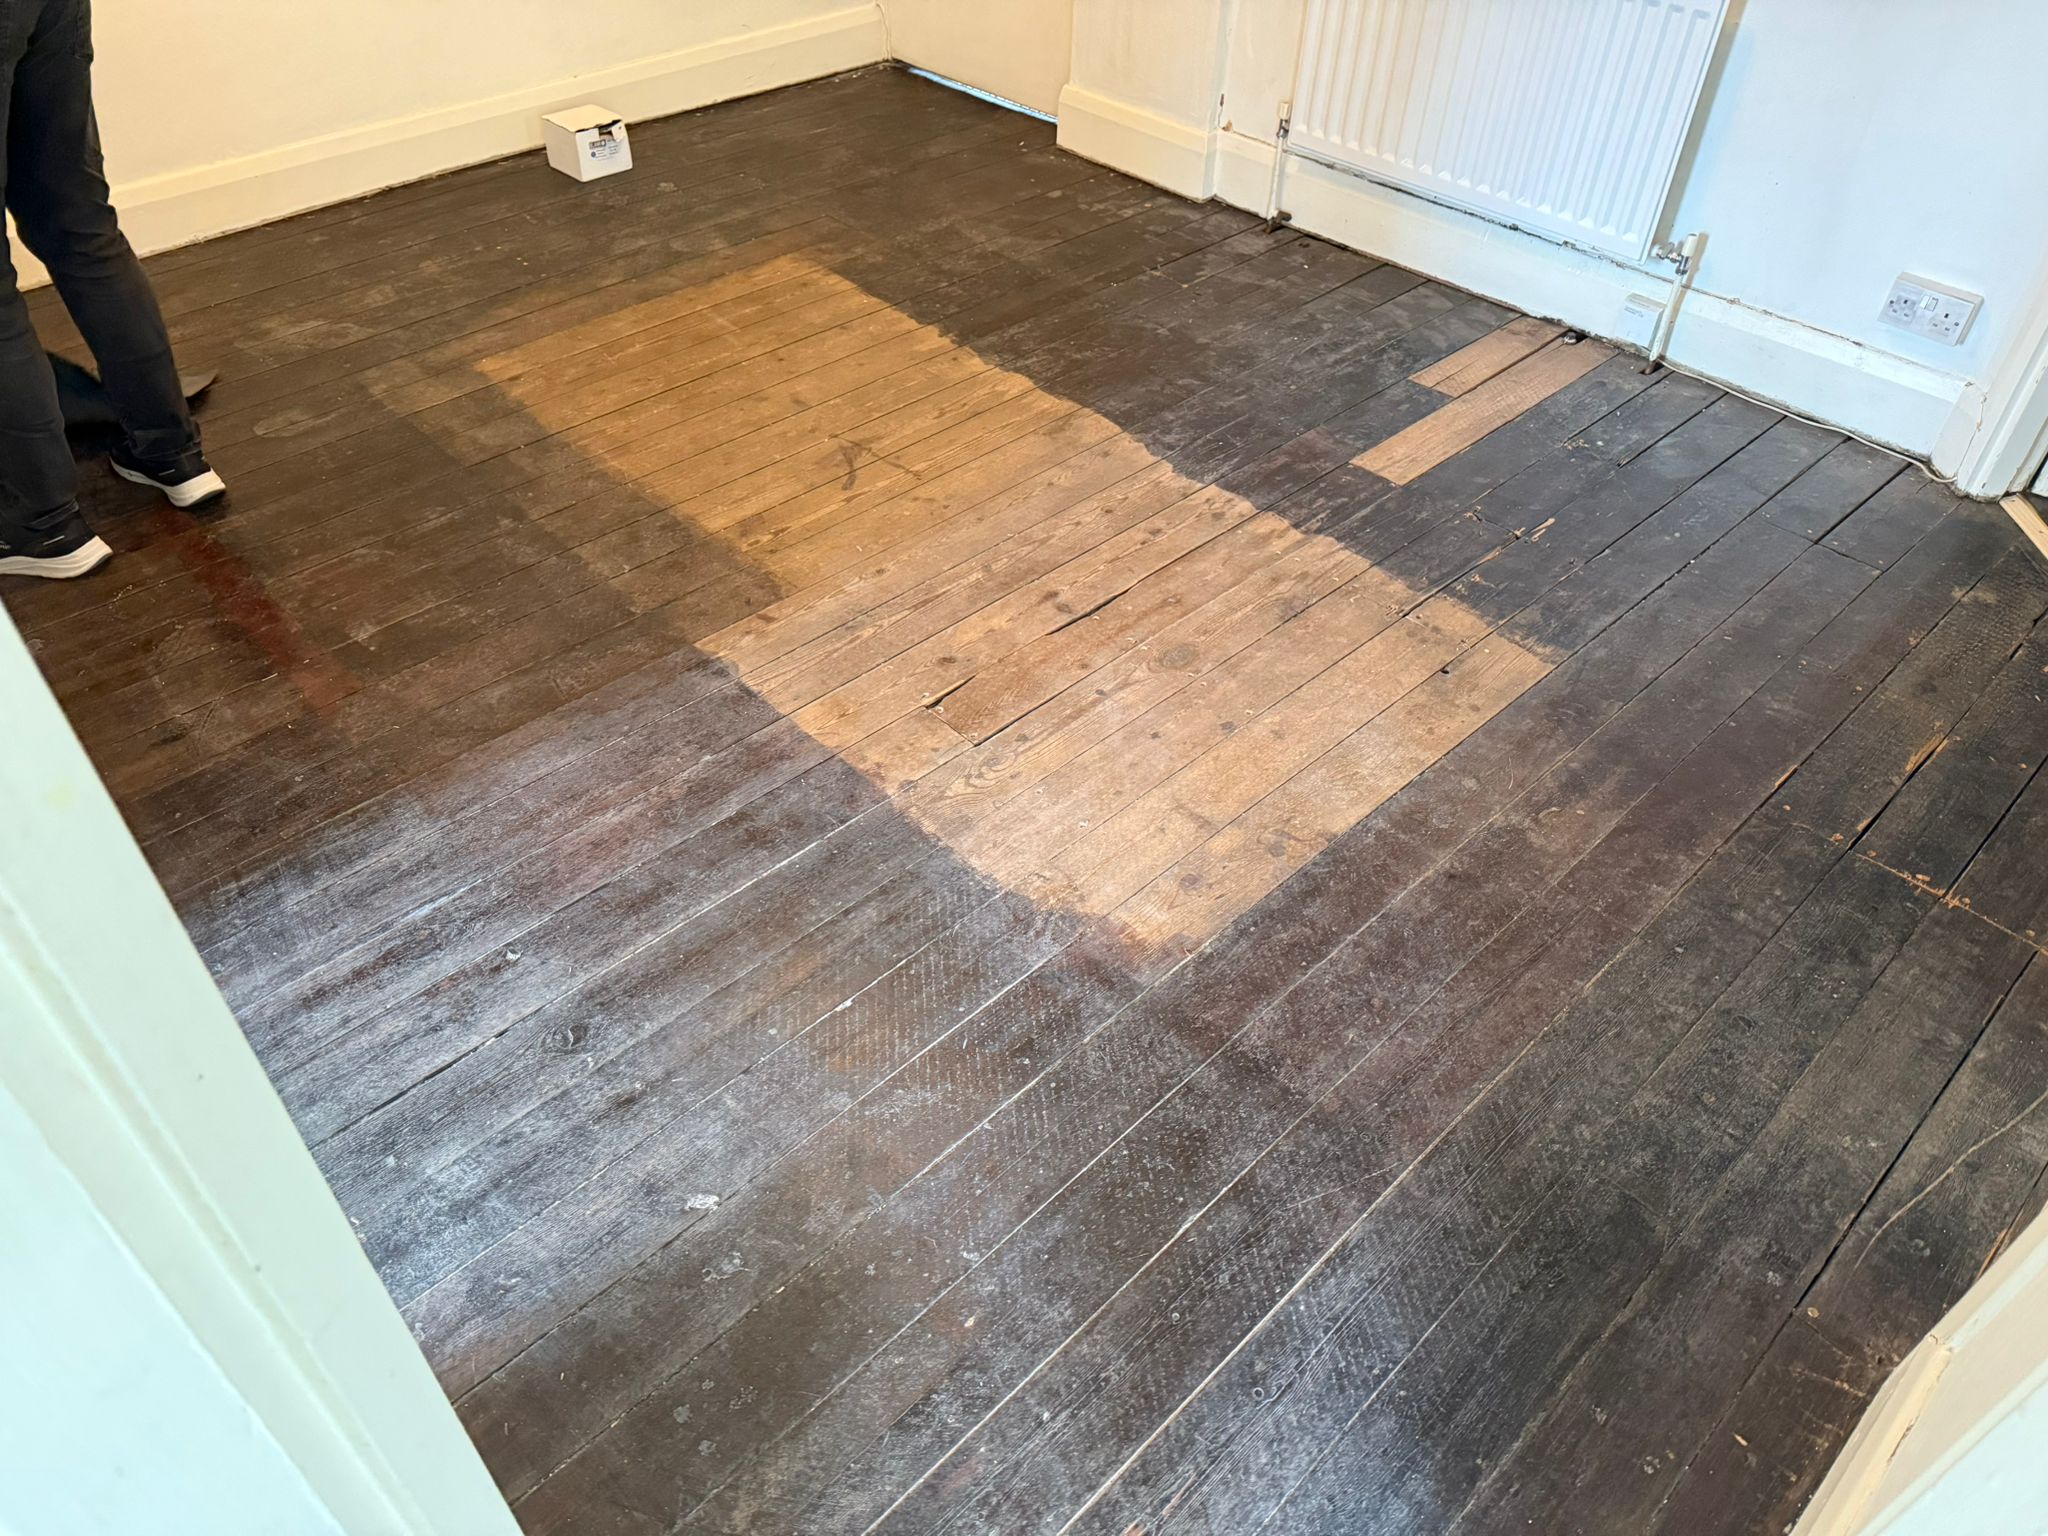
Preparation: set yourself up for success
Half the result is decided before the machines even plug in. Work through this pre-flight list and you’ll avoid the most common headaches:
- Clear and protect. Remove all furniture, doors (if needed), and soft furnishings. Mask skirtings and doorways with low-tack tape and plastic. Seal off adjacent rooms.
- Punch and fill. Drive down every nail or screw head. Mix fine dust from your own sanding with resin to create a colour-matched filler, or use premixed products for wider gaps and knot holes.
- Ventilation and safety. Open windows slightly on opposite sides for crossflow, but avoid gusts that could drop debris on wet finishes. Wear hearing protection, a respirator (P2/P3), eye protection and knee pads.
- Heating and humidity. Aim for steady, lived-in conditions. Extremes make coatings behave unpredictably.
- Plan your exit. Start furthest from the door and work out, leaving yourself a dry route between coats.
Use this moment to re-fix loose boards, silence squeaks with screws into joists, and assess thresholds. If your project includes new skirts or scotia, fit them after the final coat. The right setup makes Wood Floor Sanding smoother, safer and quicker.

Tools, materials and grit sequence
Core kit
- Belt or drum sander (hire centres carry both; belts are often more forgiving for beginners)
- Edging sander and a detail sander
- Vacuum with HEPA filtration
- Floor buffer (sometimes called a rotary or finishing sander)
- Abrasives in a full progression (see below)
- Filler/resin and mixing tub
- Applicators: microfibre roller sleeves, pads or high-quality brushes
- Finishes: water-based lacquer, penetrating oil or hardwax oil
- PPE: respirator, ear defenders, safety glasses
Choosing a grit path
A “grit sequence” is the order of sandpaper coarseness you’ll run. Skipping steps leaves visible scratches; taking too many wastes time. A reliable starter path for a floor in average condition:
- 36 or 40 grit – heavy cut to remove finish and flatten peaks
- 60 grit – refine and remove deep scratches
- 80 grit – prepare for filling; run on both the big sander and edges
- 100 or 120 grit – final pre-finish refinement
- Screen/buff with a 120–150 mesh on the buffer for a uniform scratch pattern
Badly coated or cupped floors may warrant starting at 24 grit; lightly worn floors might begin at 60. Always match the edge sander’s grit to the last pass you made with the big machine, then blend with the buffer.

The step-by-step workflow
1) First pass and levelling
Start your heaviest grit with the machine angled slightly across the boards to knock down ridges, then straighten with the grain on a second lane. Keep the sander moving before you drop the drum and lift before stopping to avoid “stop marks”.
2) Edge and detail work
After each full-room pass, switch to the edging sander around the perimeter. Use a firm, overlapping motion and avoid dwelling near skirting. In corners, a detail sander or sharp cabinet scraper is your friend.
3) Intermediate passes
Vacuum thoroughly and step through your chosen grits, field first then edges. Each pass should remove the scratches from the one before. Lighting at a low raking angle quickly reveals any cross-grain scratches or missed patches.
4) Gap filling
Once you’ve completed your mid-grit (often 80), scrape or vacuum dust and mix with resin for a colour-matched slurry. Work it across the surface with a flexible trowel so it settles into joints, nail holes and checks. Let it set fully before the next pass.
5) Final refinement
Run 100–120 over both field and edges, then vacuum meticulously. A buffer with a 120–150 screen blends everything into a uniform surface ready to seal.
6) Sealing and finishing
Before the first coat, tack with a microfibre pad. Apply your chosen coating evenly with a roller or pad, working with the light and maintaining a wet edge. Most water-based lacquers want a light denib (a very fine abrade) between coats; oils and hardwax oils typically require thinner, well-buffed coats. Follow cure times precisely.
When you map the job this way, Wood Floor Sanding becomes a tidy, logical sequence rather than a mystery.
Dust control and safety essentials
Modern machines paired with high-efficiency extractors capture the bulk of airborne dust, but technique matters. Keep hoses short and well-sealed, empty bags frequently, and vacuum borders and radiators between passes. Never leave a dust bag indoors overnight; fine dust is combustible. Wear a proper respirator, manage cables to avoid trip hazards, and give yourself breaks—fatigue breeds mistakes with heavy kit.
Choosing a finish: lacquer, oil or hardwax oil?
Your coating determines the look, feel and maintenance routine.
- Water-based lacquer (varnish). Clear, quick to dry, and available from matt to gloss. Excellent abrasion resistance and low odour. Brands such as Bona, Junckers and Pallmann are widely used across the UK.
- Hardwax oil. A blend that penetrates and also leaves a protective film. Warmer tone than water-borne lacquer, easy to patch-repair locally, and pleasant underfoot.
- Penetrating oil. Deeply nourishes the wood, emphasising grain and warmth. Requires disciplined maintenance but can look superb in characterful homes.
Colouring and special effects
Pre-treatments (stains, lyes, reactive tans) can push floors towards Nordic whites, smoked greys or rich browns. Always test on offcuts or a hidden area. If you stain, keep your final sanding step consistent and dust-free; inconsistent scratch patterns show more under dark colours.
Cure times and use
Dry-to-touch isn’t full cure. Water-based lacquers often allow light foot traffic within hours, but rugs and heavy furniture should wait several days. Oils demand longer oxidation time; ventilate well and follow the manufacturer’s guidance.

Timelines and realistic budgeting (UK)
Every home is different, but these ballpark figures help with planning:
- Time
- Small bedroom (10–12 m²): 1 day including two coats of lacquer; add a second day if staining or using oil.
- Through lounge (25–30 m²): 2–3 days to sand, fill and finish.
- Stairs: allow a day for a standard flight due to intensive detail work.
- Cost
- Hire package (main sander, edger, buffer) for a weekend: typically £120–£220 depending on region and kit quality.
- Abrasives, fillers, sundries: £80–£150 for an average room.
- Professional service: commonly £20–£40 per m² for sanding and clear lacquer; more with staining, intricate patterns or difficult access.
These ranges reflect general UK market conditions and normal wear scenarios; heavily damaged, sticky or previously coated floors can require more time, abrasives and coatings.
Common mistakes (and how to avoid them)
- Skipping grits. This is the number-one cause of visible scratches after coating. Move through each step methodically.
- Starting too fine. If the first pass doesn’t remove the old finish cleanly, you’ll polish scratches rather than erase them. Begin coarse enough to cut.
- Standing still with the drum down. Always be moving before you drop the drum and lift it just before you stop.
- Over-edging. Dwelling near skirting cuts a trench that shows under side light. Keep the machine flat and moving.
- Poor dust control. Dust nibs and debris create bumps in finish. Vacuum between every pass and tack before coats.
- Heavy coats of oil. These can stay tacky for days and attract marks. Apply thinly and buff well.
- Ignoring room climate. Very cold, hot or humid spaces alter flow and cure. Stabilise the environment.
- Rushing the cure. Don’t drag furniture or lay rugs too soon; it can imprint or block proper hardening.
Troubleshooting quick wins
- Stop marks from the main sander: feather them out with the next grit at a shallow angle, then blend with the buffer.
- Edge-to-field shadow (a noticeable band around the room): ensure the edge was sanded to the same grit as the field and buff the transition thoroughly.
- Swirl marks from a rotary: switch to a finer screen and keep the machine moving in overlapping passes; vacuum and check with raking light.
- White lines between boards after coating: this can be finish bridging. Allow proper dry times and avoid heavy coats; in severe cases, carefully slice and refinish locally.
- Tannins or water spots showing through: isolate with a compatible primer/sealer before recoating.
Aftercare: keeping the result spotless for years
- First week: Treat the surface gently. Fit felt pads under furniture feet and lift rather than drag. Keep pets’ claws trimmed.
- Cleaning routine: Vacuum with a soft parquet head, then damp-mop with a pH-neutral cleaner recommended by your finish manufacturer. Avoid steam mops.
- Smart protection: Use breathable mats at entries, runners in high-traffic corridors and castor cups under heavy items.
- Climate control: Maintain stable humidity (40–60%) to minimise seasonal gaps and movement.
- Top-up care: For lacquered floors, a maintenance polish can refresh micro-scratches. For oiled/hardwax oiled floors, a periodic care oil keeps the protection topped up.
- Recoating vs full refurb: When sheen dulls or micro-scratches build up, a screen-and-recoat often restores the look without returning to bare wood.

Ready to revive your boards without the stress? Speak to the experts at City Sanding. Whether you want friendly advice, a hybrid DIY/pro package, or a full professional service, the team can help you plan, price and deliver a flawless result. Start your journey with Wood Floor Sanding today.