Wood Floor Sanding Secrets to Revive and Transform Tired Boards
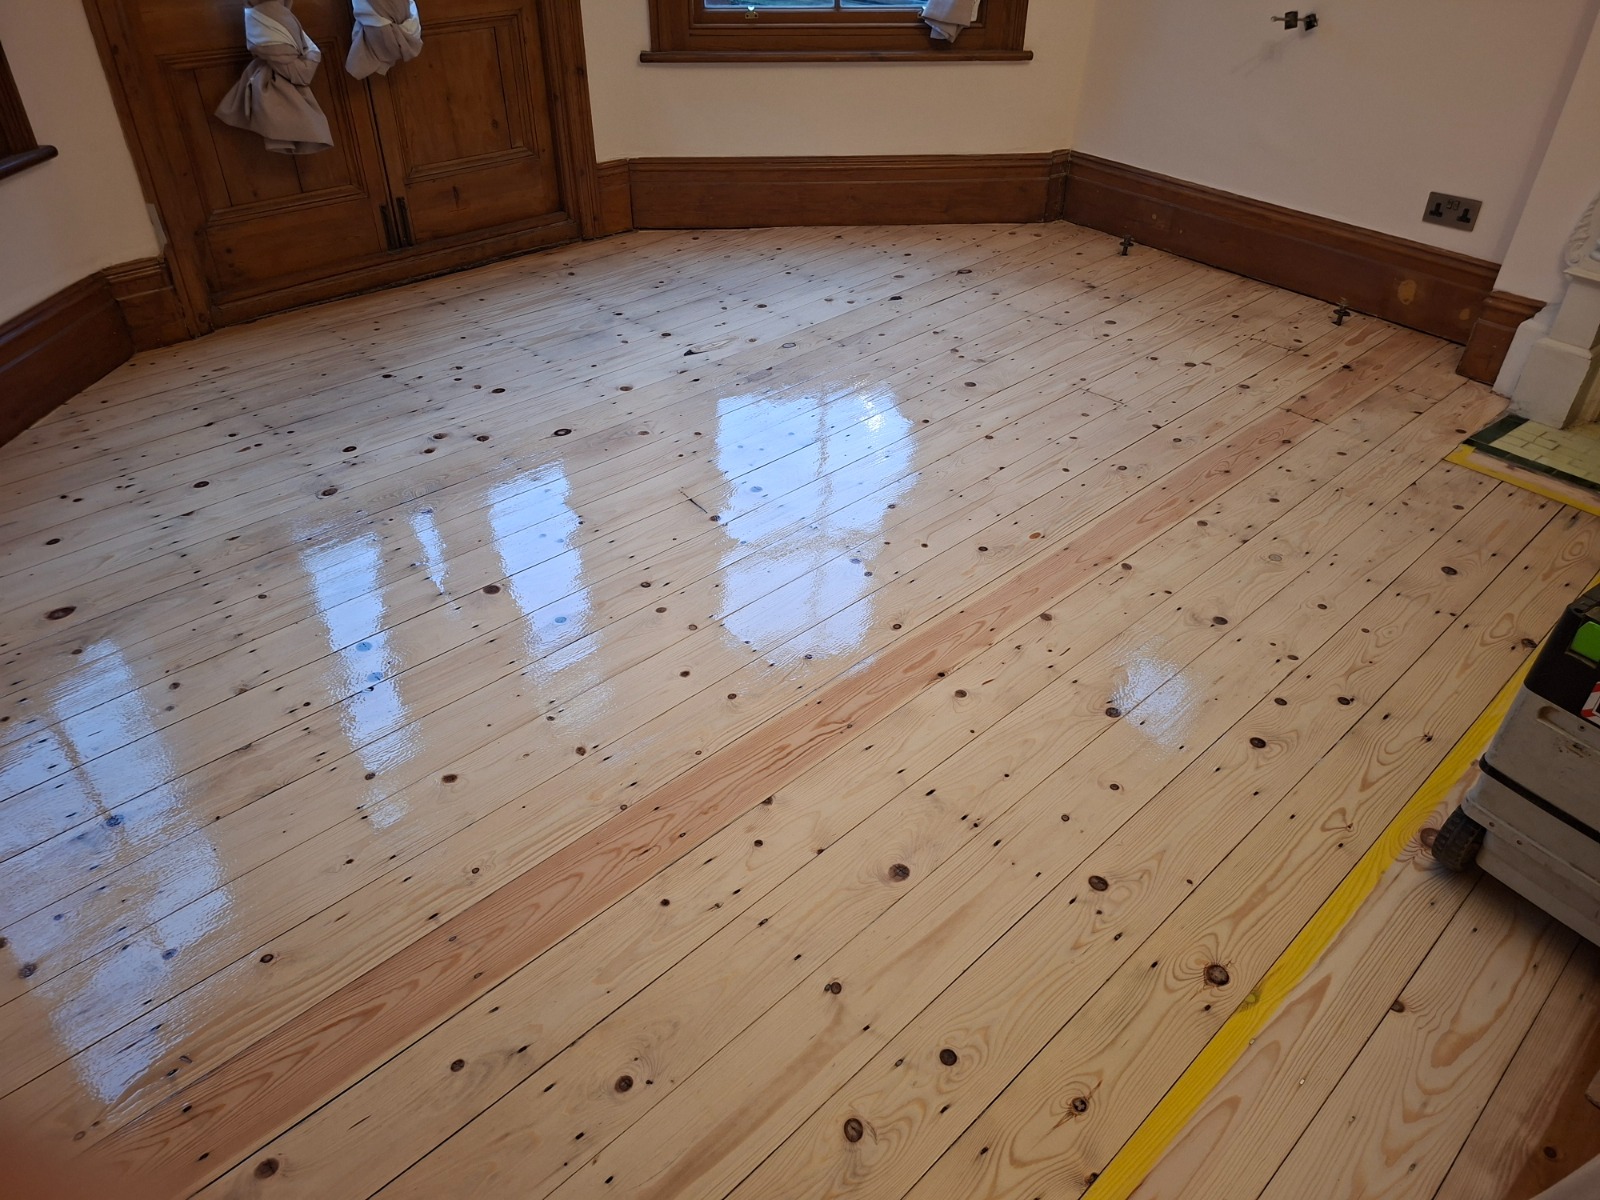
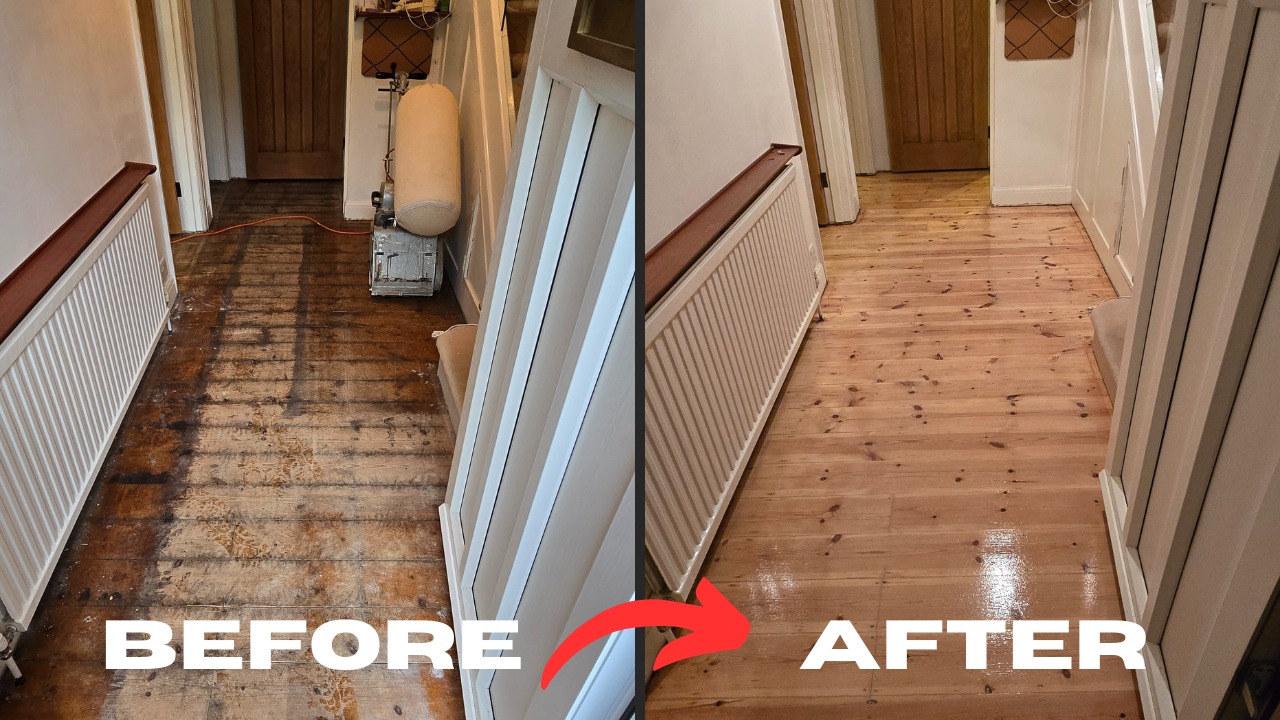
When your wooden floors are looking dull, scratched and lifeless, it’s easy to assume you need to rip everything out and start again. In reality, the right wood floor sanding and refinishing can make tired boards look smarter than ever – and at a fraction of the cost of replacement.
For homeowners and businesses across London, City Sanding specialise in turning worn-out floors into a feature you’re genuinely proud of. In this guide, you’ll learn the smart way to approach wood floor sanding, what actually happens during the process, and how to avoid the costly mistakes that ruin a good floor.
Why Wood Floor Sanding Is the Smart Alternative to Replacement
Ripping up a wooden floor is disruptive, expensive and usually unnecessary. Most solid and engineered wood floors can be transformed with professional wood floor sanding and sealing.
A proper sanding job will:
- Strip away old varnish, lacquer, oil or wax
- Remove years of scratches, scuffs and stains
- Level out uneven boards and patch repairs
- Prepare the surface for a beautiful new finish
Instead of sending good timber to landfill, you reuse what you already have – and often uncover grain and colour you’ve not seen since the floor was first laid.
For London properties where space and character matter, sanding is the smart, sustainable route to a floor that looks new without losing its original charm.
What Actually Happens During Wood Floor Sanding?
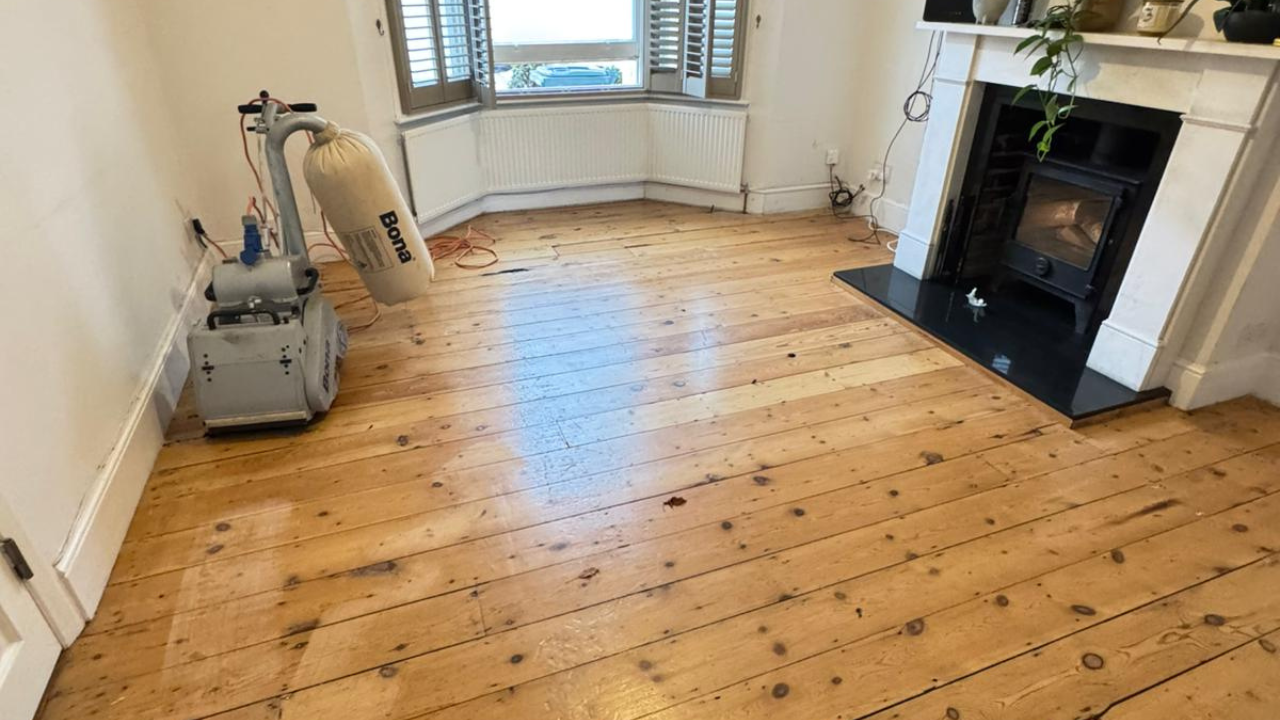
A lot of people imagine sanding as “running a big machine up and down a few times”. If only it were that simple. Done properly, wood floor sanding is a staged, methodical process:
1. Inspection and Floor Repairs
Before any machine touches the floor, a professional will:
- Check for loose, broken or missing boards
- Assess previous repairs, patches and infills
- Look for signs of movement, damp or structural issues
- Identify different wood species (pine, oak, maple, etc.)
At City Sanding the team replace damaged boards, secure loose fixings and deal with old hearths or bodged patches before sanding begins. A flat, secure base is the first real “secret” to a stunning finish.
2. Choosing the Right Sanding Grit Sequence
Good sanding is all about the correct sequence of abrasive papers:
- Coarse grits (e.g. 24–40) to remove thick coatings and level
- Medium grits (e.g. 60–80) to refine the surface
- Fine grits (e.g. 100–120+) to create a smooth, even texture
Skipping grits or “jumping” too far between them leaves swirl marks and scratches that only show up once the finish goes on. An experienced technician knows how aggressive to be at each stage — enough to remove damage, but not enough to chew through your floor.
3. Edge and Corner Sanding
The big belt or drum sander can’t reach right into corners and along skirting. That’s where edge sanders and hand tools come in.
Working carefully around the perimeter and in tight spots ensures:
- No “lip” where the middle meets the edges
- Clean lines around fireplaces, built-ins and thresholds
- A consistent look across the entire room
If you’ve ever seen a floor with a lovely centre and dull, scratched edges, it’s almost always because this step was rushed or ignored.
4. Fine Sanding and Buffing
Before any finish is applied, the whole floor is usually buffed with a rotary machine and mesh screens. This final pass:
- Blends edges and main field sanding
- Removes micro-scratches
- Helps the finish absorb evenly
This is the “invisible” stage that separates an average job from a truly professional one.
Secret #1: Fix the Problems Before You Touch the Machines
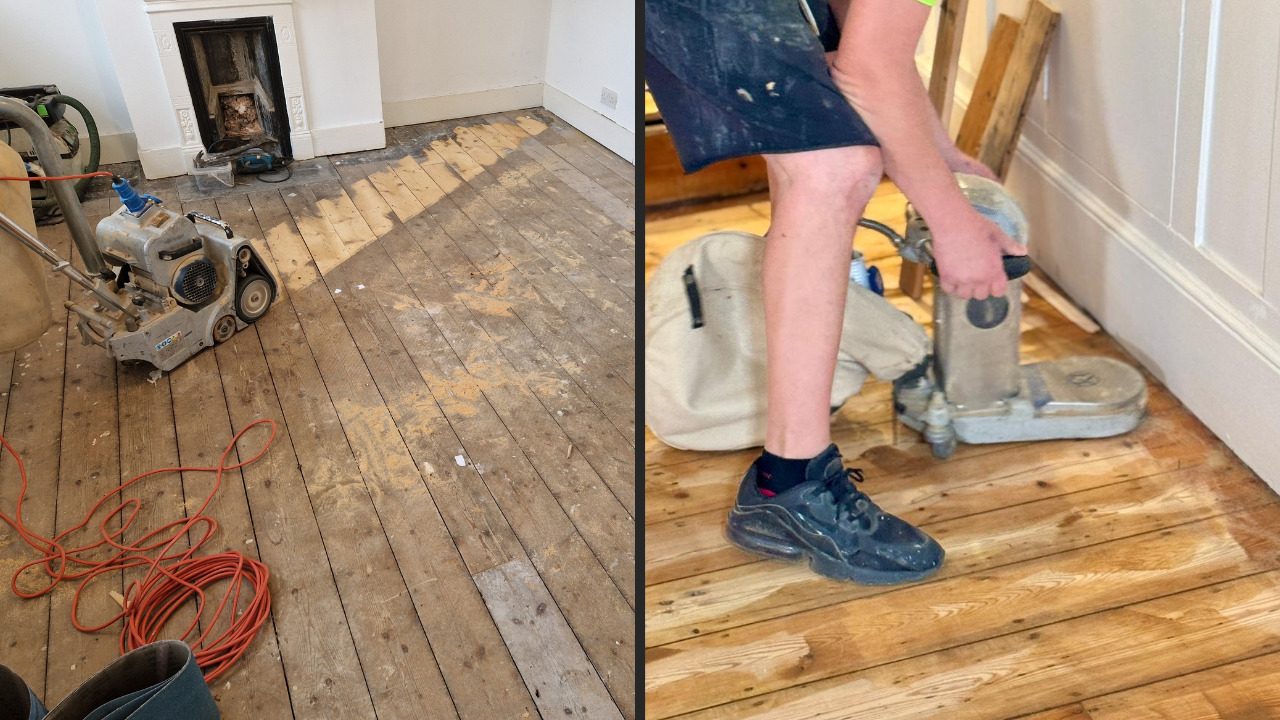
It’s tempting to think sanding will fix everything. Unfortunately, it won’t.
- Loose boards will still creak after sanding.
- Soft or rotten areas may tear or dish under the machine.
- Old concrete hearths or poorly filled gaps will stand out more, not less.
The smart approach is repair first, sand second.
At City Sanding floor restoration typically includes:
- Replacing damaged boards with matching timber
- Strengthening weak areas and subfloors
- Filling gaps with resin and dust or timber slivers
- Removing old, uneven patches and making them good
Only then do the team bring in the high-performance, dust-controlled machines.
Secret #2: Choose the Right Service for Each Type of Floor
Not all wooden floors are the same. Using a one-size-fits-all approach is a fast way to disappointment. Here’s how the main services differ – and where they’re used.
Parquet Floor Sanding & Restoration
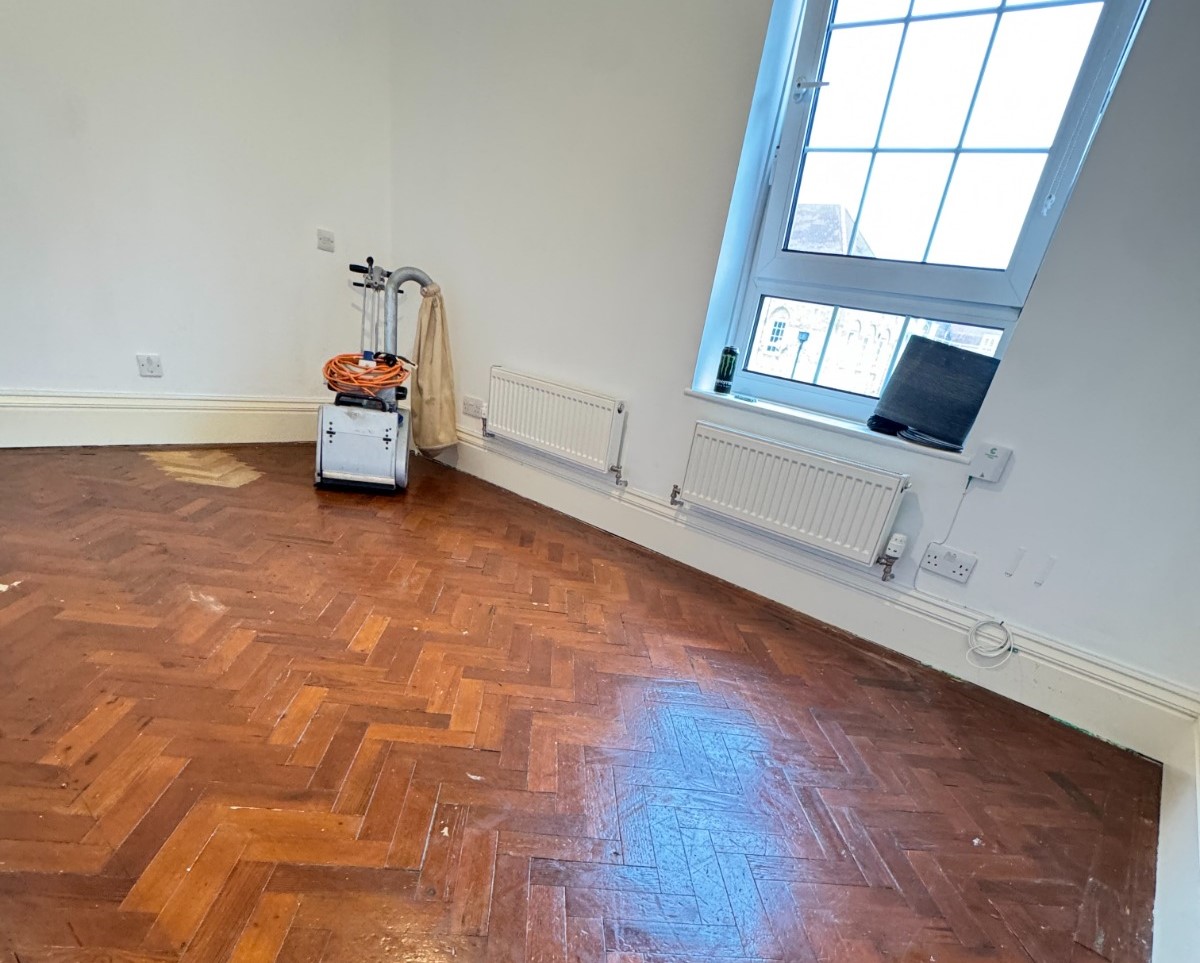
Traditional parquet blocks (often oak) need especially careful handling. Poor technique can round over the edges, open up gaps and ruin the pattern.
Professional parquet floor sanding uses:
- Diagonal passes to level blocks evenly
- Careful grit progression to protect sharp lines
- Specialist fillers to deal with fine joints
Where blocks are lifting, missing or heavily damaged, full parquet floor restoration may include relaying, re-bonding and replacing sections before sanding.
Hardwood Floor Sanding & Refinishing
Solid oak, maple or other hardwood planks are robust, but they still demand respect. A skilled team will recommend the right combination of hardwood floor sanding and hardwood floor refinishing to:
- Remove deep scratches and old coatings
- Highlight the natural grain and colour
- Protect against heavy everyday use
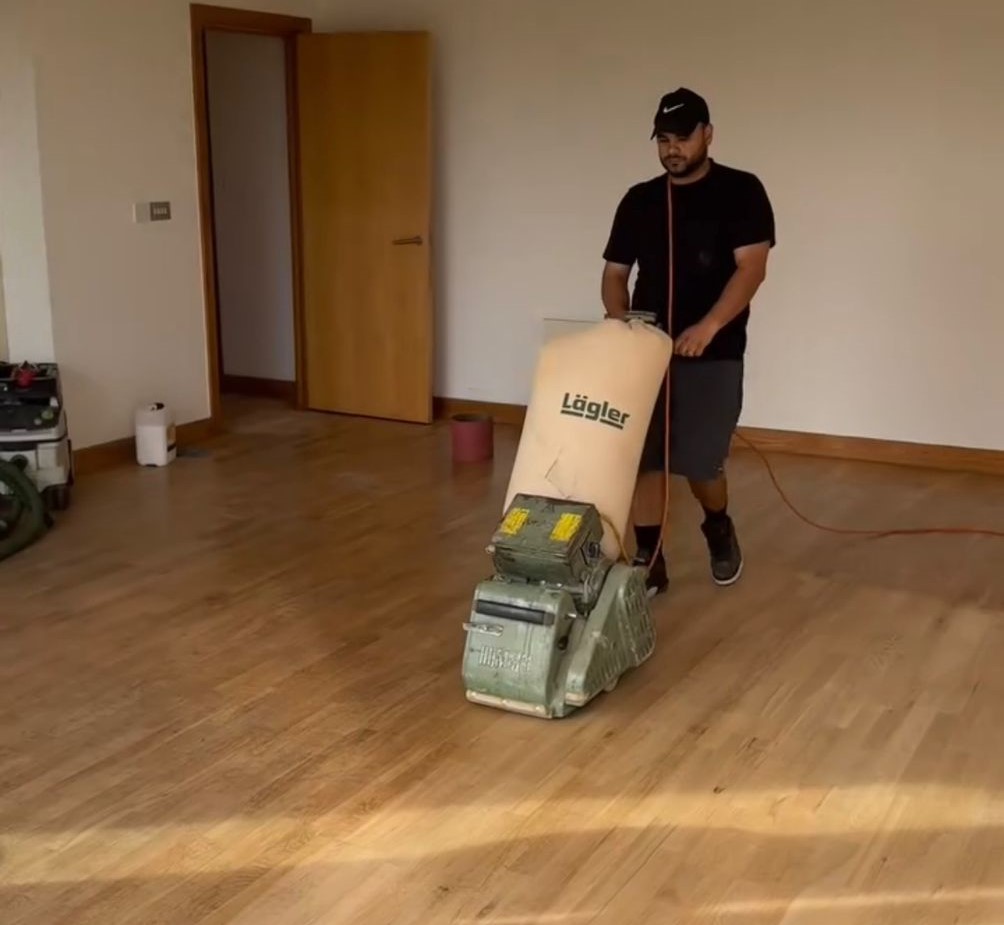
Commercial Floor Sanding
Shops, studios, restaurants and offices require a different approach again. Commercial floor sanding often means:
- Working outside business hours to minimise disruption
- Using fast-curing finishes to get you back in operation
- Choosing hard-wearing, slip-resistant sealants
A commercial floor has to look good and stand up to constant footfall – first impressions matter.
Deck Sanding and Deck Renewal
Exterior timber decking takes a battering from weather, UV and foot traffic. Proper deck sanding and deck renewal can:
- Remove grey, weathered timber on the surface
- Get rid of flaking paint and old stain
- Prepare the boards for oil or outdoor sealer
Non-slip finishes can be applied to improve safety in wet conditions.

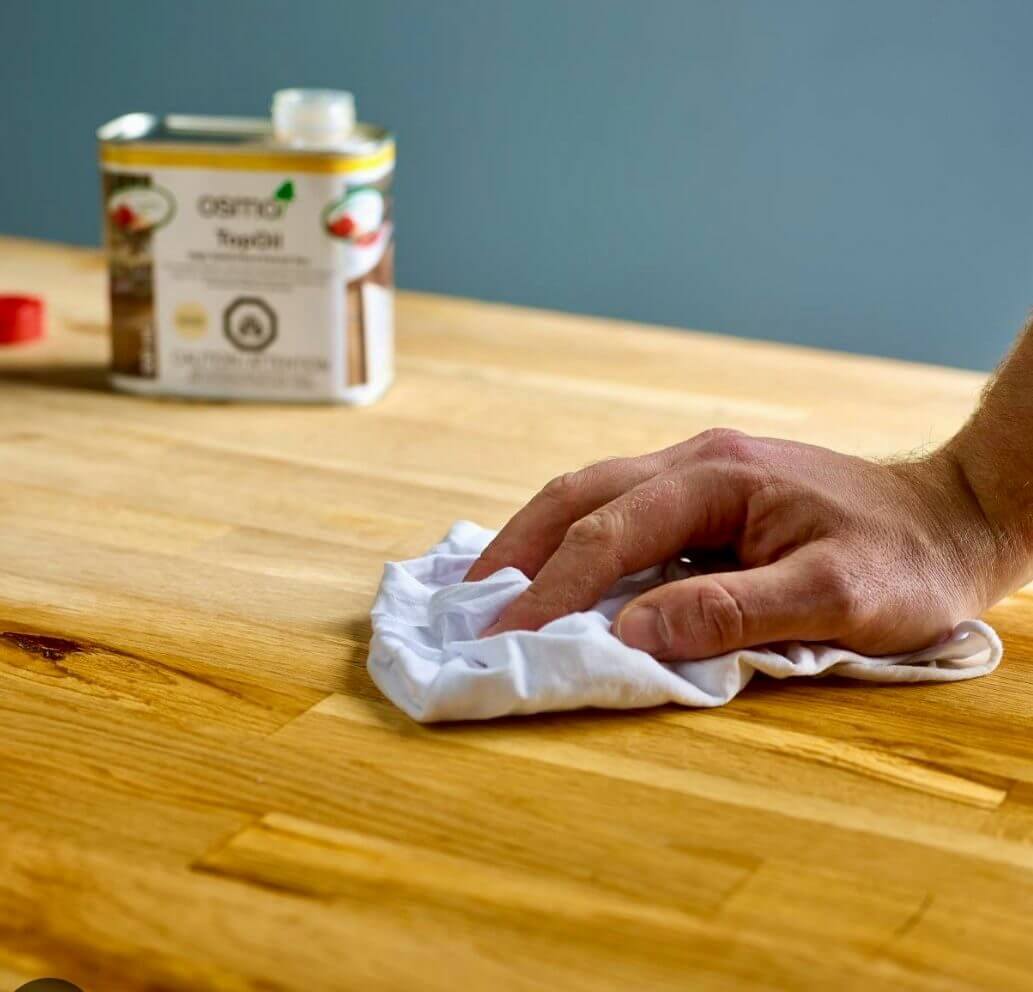
Worktop Refinishing
Kitchen and utility worktops can often be saved instead of replaced. Worktop refinishing involves gentle sanding followed by food-safe oils or hardwax finishes to:
- Remove knife marks and stains
- Refresh dry, dull timber
- Create a warm, natural surface that’s easy to maintain
Secret #3: Dust Control Is Non-Negotiable
Old-fashioned sanding fills the whole property with dust, clinging to every surface and hanging in the air for days.
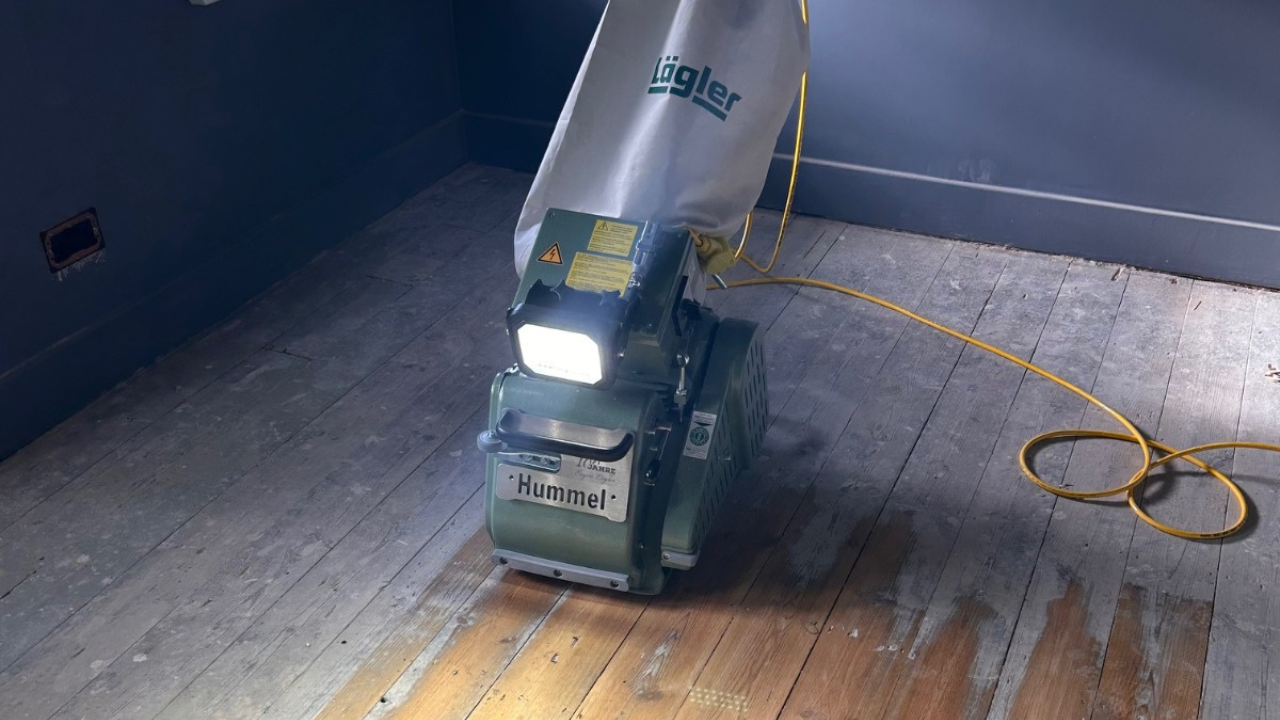
Modern, professional systems use high-powered extraction to capture dust at source. At City Sanding Co., new-generation dust-free machines and sealed hoses mean:
- Cleaner air for you, your family and your pets
- Less cleaning after the job
- Better adhesion for finishes (less debris in the coat)
If you’re comparing quotes, always ask about dust control. It’s not just a comfort issue – it’s a quality issue.
Secret #4: The Finish Makes or Breaks the Job
Once sanding is complete, the floor is ready for its new finish. This is where style, durability and maintenance all come together.
Common options include:
Lacquer (Varnish)
- Tough, protective film on the surface
- Available in matt, satin or gloss
- Great for busy homes and commercial spaces
Hardwax Oil
- Soaks into the timber and leaves a more natural look
- Easy to patch-repair local damage
- Ideal for period properties and clients who like a softer sheen
Coloured Stains and Tints
- Lighten or darken the timber
- Create modern tones (e.g. Nordic pale, rich walnut)
- Must be applied evenly on well-prepared timber
A professional will talk you through how each option looks, feels and wears, so you can choose the one that matches your lifestyle – not just a showroom photo.

Secret #5: DIY vs Professional – What’s Really at Stake?
Hiring a sander from a DIY store and having a go yourself can seem appealing. But there are a few truths worth knowing:
- DIY machines are usually under-powered – they chatter and bounce, leaving marks that are hard to remove.
- Inexperience with grit choice leads to sanding “tracks”, visible lines and swirl marks.
- Lingering dust gets trapped under the finish, creating rough, gritty patches.
- One bad pass across the grain can gouge the timber beyond economical repair.
By contrast, using a specialist like City Sanding gives you:
- Experienced, trained technicians who sand all day, every day
- Industrial-grade, dust-controlled machinery
- Access to trade-only finishes and products
- Proper preparation, repairs and aftercare advice
Yes, you pay for that expertise – but you also avoid the cost of trying to put right a poor DIY attempt.
Preparing Your Home or Business for Sanding Day
Want the process to be as smooth as your new floor? A bit of preparation goes a long way.
What You Can Do Before the Team Arrive
- Clear furniture, rugs and personal items from the rooms
- Take down delicate wall hangings near the floor
- Make sure there’s power and easy access to the property
- Let neighbours know if you live in a flat (for access and lift use)
What City Sanding Co. Will Handle
- Protecting fixed items that can’t be removed
- Isolating work areas where necessary
- Managing dust and waste
- Leaving the site tidy at the end of each day
If you have particular concerns – pets, young children, tight timescales – you can discuss all of this when you request a quote or contact the team.

Looking After Your Newly Sanded Floor
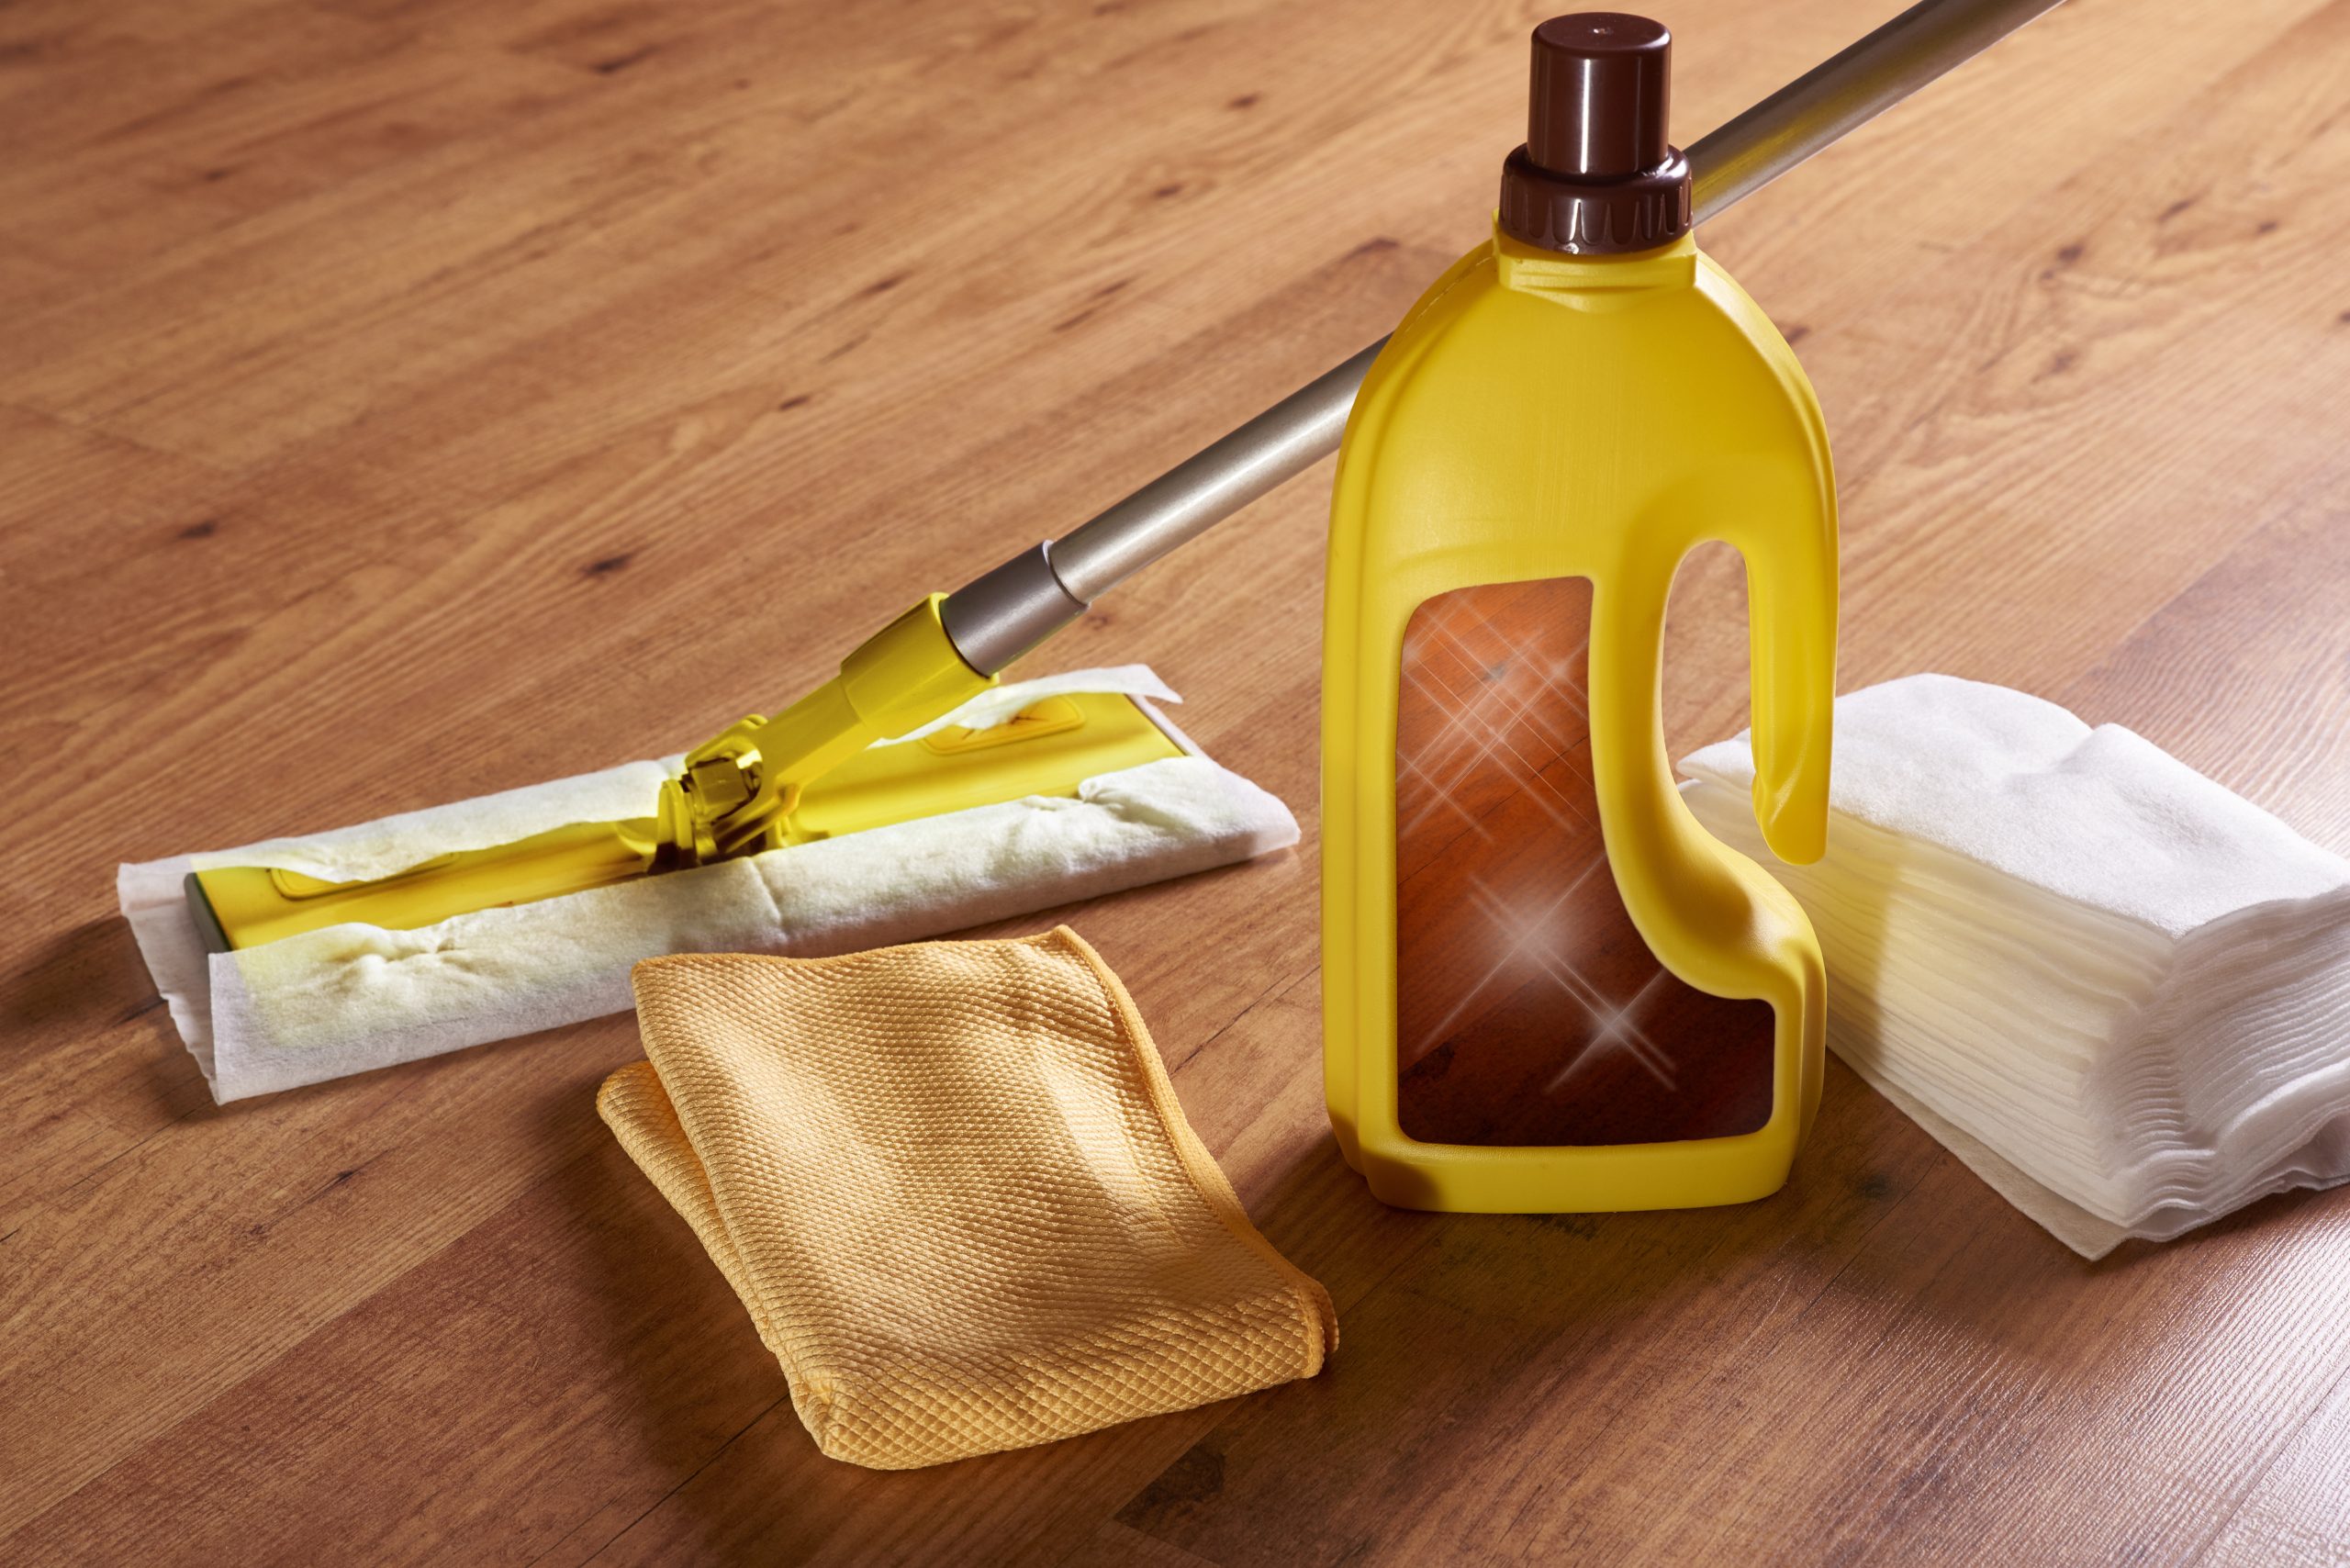
Once your wood floor sanding and finishing is complete, a few simple habits will keep it looking good for years:
- Use felt pads under furniture feet
- Avoid dragging heavy items – lift where possible
- Sweep or vacuum regularly with a soft floorhead
- Wipe up spills promptly
- Use doormats at entrances to catch grit and moisture
For busy households and commercial environments, City Sanding can also advise on maintenance plans and future refresh coats to extend the life of your finish.
Why London Property Owners Trust City Sanding Co.
Based in Highgate and serving London and surrounding areas, City Sanding have been specialising in wood floor sanding and restoration for decades. Their reputation is built on:
- Assured results – floors that genuinely look and feel renewed
- Cutting-edge technology – modern, dust-controlled machinery
- Budget-friendly rates – clear, competitive pricing
- Warm, neat service – polite teams who respect your home or business
From small flats to grand townhouses, shops to studios, they handle everything from parquet floor sanding and hardwood floor refinishing to commercial floor sanding, deck sanding and worktop refinishing with the same care and attention.
Ready to Restore Your Tired Boards the Smart Way?
If your floors are:
- Hidden under old carpets
- Scratched, stained and patchy
- Yellowed with ancient varnish
- Or simply dull and lifeless
…then now is the perfect time to bring them back to life with professional wood floor sanding.
👉 Book your free, no-obligation quote today:
- Visit City Sanding Co.
- Or call 020 3151 5990 to speak to a floor sanding expert
Let City Sanding Co. show you how beautiful your existing boards can be – and restore your tired wooden floors the smart way, not the hard way.